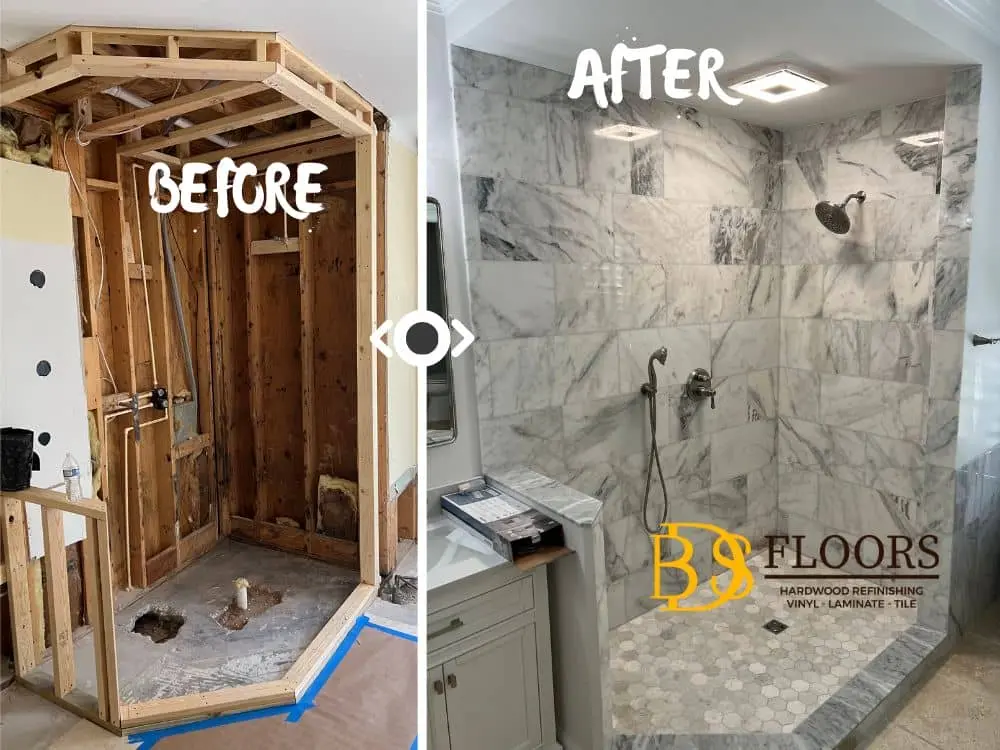
From Start to Finish: A Comprehensive Tutorial on Bathroom Tile Installation
Welcome to our comprehensive tutorial on bathroom tile installation. Whether you’re a DIY enthusiast or a homeowner looking to update your bathroom, this step-by-step guide will equip you with everything you need to know to create a stunning tiled finish. Request a free estimate here.
In this article, we will cover all aspects of bathroom tile installation, from selecting the right tiles to preparing the surfaces and applying the adhesive. We will also guide you through grouting, caulking, and sealing your tiles to ensure a professional and long-lasting result.
No matter your skill level, our easy-to-follow instructions and helpful tips will make this seemingly daunting task a breeze. You’ll learn the best practices to avoid common mistakes, the tools you’ll need, and the techniques that will give your bathroom a polished and stylish look.
Whether you’re planning a complete bathroom remodel or just want to update the tiles, this tutorial has got you covered. So let’s roll up our sleeves and get started on creating the bathroom of your dreams; bathroom tile installation.
Preparing the bathroom for tile installation
Before you can begin installing your bathroom tiles, it’s essential to prepare the space properly. This step will ensure a smooth and successful installation process.
First, remove any existing tiles or flooring materials from the bathroom floor or walls. Use a pry bar and hammer to carefully remove the tiles, taking care not to damage the underlying surfaces. Next, inspect the walls and floors for any cracks or uneven areas. If you find any, use a filler to repair them and allow it to dry completely; bathroom tile installation.
Once the walls and floors are in good condition, it’s time to clean them thoroughly. Remove any dust, dirt, or grease using a mild detergent and warm water. Scrub the surfaces gently with a sponge or brush, then rinse with clean water and allow them to dry completely.
Now that your bathroom is clean and ready, it’s time to move on to the next step: choosing the right tiles for your bathroom. Request a free estimate here.
Choosing the right tiles for your bathroom
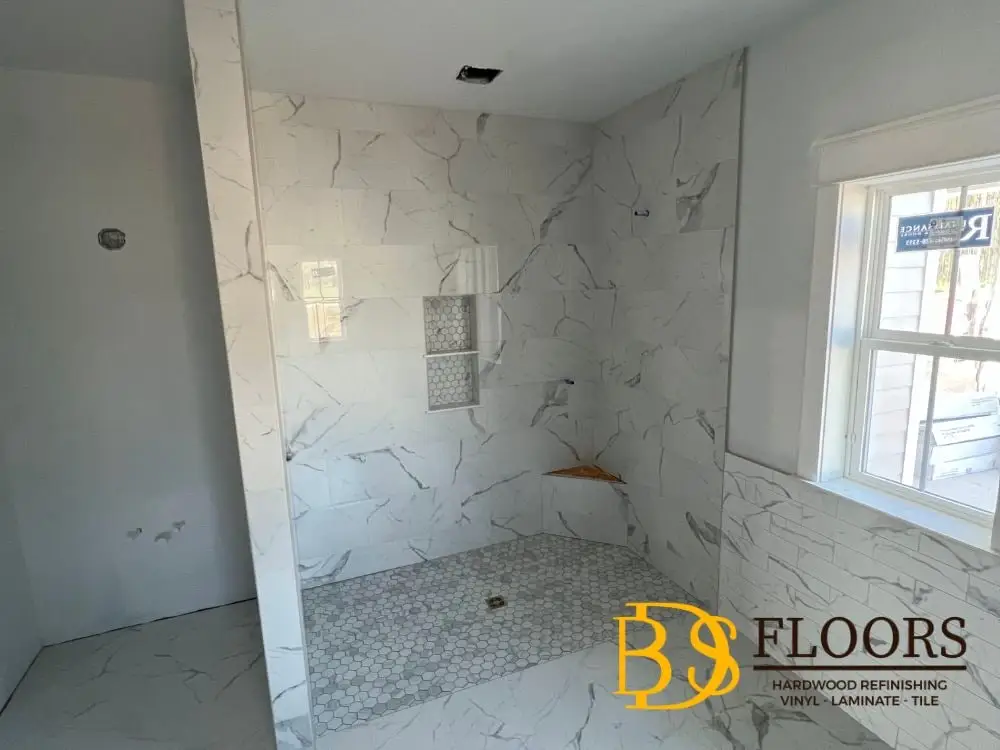
Selecting the right tiles for your bathroom is crucial to achieving the desired look and functionality. There are various factors to consider when choosing bathroom tiles, such as size, material, color, and texture; bathroom tile installation.
First, think about the size of your bathroom. For smaller bathrooms, it’s best to choose smaller tiles as they can create an illusion of a larger space. Larger tiles, on the other hand, are more suitable for spacious bathrooms.
Next, consider the material of the tiles. Ceramic and porcelain tiles are popular choices for bathroom floors and walls due to their durability and water-resistant properties. Natural stone tiles, such as marble or travertine, can add a touch of luxury and elegance to your bathroom but require more maintenance; bathroom tile installation. Request a free estimate here.
In terms of color, choose tiles that complement your bathroom’s overall design and color scheme. Neutral tones like white, beige, or gray are versatile options that can easily match different styles. If you want to add a pop of color or create a focal point, consider using decorative tiles or mosaic patterns.
Lastly, think about the texture of the tiles. Smooth, glossy tiles are easy to clean and maintain, making them suitable for high-traffic areas like the bathroom. However, if you’re concerned about slipperiness, opt for tiles with a textured or matte finish for added grip.
Once you’ve considered all these factors, it’s time to gather the tools and materials needed for the tile installation process; bathroom tile installation.
Tools and materials needed for tile installation
Before you can start installing your bathroom tiles, you’ll need to gather the necessary tools and materials. Having everything prepared in advance will make the installation process smoother and more efficient; bathroom tile installation.
Here’s a list of the essential tools and materials you’ll need:
1. Tape measure and chalk line – for measuring and marking the bathroom for tile placement.
2. Tile cutter or wet saw – for cutting tiles to fit around edges and corners.
3. Notched trowel – for spreading the tile adhesive evenly.
4. Grout float – for applying and smoothing the grout between tiles.
5. Tile spacers – for ensuring even spacing between tiles.
6. Grout sealer – for protecting the grout from stains and moisture.
7. Safety goggles and gloves – for protecting your eyes and hands during the installation process.
8. Tile adhesive and grout – choose the appropriate type for your tiles and bathroom conditions.
9. Sponge and bucket – for cleaning excess grout and adhesive.
Make sure to gather these tools and materials before you begin the installation process. Having everything within reach will save you time and prevent any delays.
Now that you have everything prepared, let’s move on to measuring and marking the bathroom for tile placement; bathroom tile installation.
Measuring and marking the bathroom for tile placement
Accurate measurements and proper tile placement are crucial for achieving a professional-looking result. Before you start applying the adhesive, take the time to measure and mark the bathroom walls or floor to ensure precise tile placement. Request a free estimate here.
Start by measuring the length and width of the bathroom walls or floor using a tape measure. Multiply the measurements to calculate the square footage of the area you’ll be tiling. This will help you determine the number of tiles you’ll need to purchase; bathroom tile installation.
Next, use a chalk line to create reference lines for the tile placement. Start by finding the center point of the wall or floor and snap a chalk line from top to bottom or left to right. This will serve as a guide for the first row or column of tiles.
If you’re installing tiles on the floor, consider starting from the center of the room and working your way outwards. This will help create a balanced and symmetrical look. For wall tiles, start from the centerline and work your way up or down, depending on your preference; bathroom tile installation.
Once you’ve marked the reference lines, it’s time to move on to preparing the tile adhesive.

Preparing the tile adhesive and applying it to the bathroom floor or walls
The tile adhesive is a crucial component of the installation process, as it ensures the tiles adhere securely to the bathroom floor or walls. Proper preparation and application of the adhesive are essential for a successful tile installation; bathroom tile installation.
Start by reading the manufacturer’s instructions on the tile adhesive packaging. Different types of adhesives may require specific mixing ratios or preparation methods. Follow these instructions carefully to ensure the adhesive is prepared correctly.
In most cases, you’ll need to mix the adhesive with water until it reaches a smooth and creamy consistency. Use a mixing paddle and a bucket to combine the adhesive and water, following the recommended proportions. Let the mixture sit for a few minutes, then stir it again before use; bathroom tile installation.
Once the adhesive is ready, use a notched trowel to spread it evenly on the bathroom floor or walls. Start at the reference lines you marked earlier and work in small sections. Hold the trowel at a 45-degree angle and apply the adhesive in a sweeping motion, creating ridges. This will help ensure proper tile adhesion. Request a free estimate here.
Place the tiles onto the adhesive, pressing them firmly to ensure a secure bond. Use tile spacers to maintain even spacing between the tiles and adjust them as needed. Continue spreading the adhesive and placing the tiles until you’ve covered the entire area.
Remember to periodically check the tiles with a level to ensure they’re straight and even. Adjust them as necessary before the adhesive sets; bathroom tile installation.
With the tiles in place, it’s time to move on to the next step: installing the bathroom tiles.
Grouting the bathroom tiles for a finished look
Grouting is the final step in the bathroom tile installation process. It not only fills the gaps between the tiles but also adds a finished and cohesive look to the overall design. Follow these steps to achieve a professional-looking grout finish.
1. Start by preparing the grout according to the manufacturer’s instructions. Mix the grout and water until it forms a smooth and lump-free consistency.
2. Using a grout float, apply the grout to the gaps between the tiles. Hold the float at a 45-degree angle and spread the grout diagonally, ensuring it fills the gaps completely.
3. Work in small sections, applying the grout and then wiping off the excess with a damp sponge. Rinse the sponge frequently to prevent grout buildup.
4. Once you’ve filled all the gaps and removed the excess grout, allow the grout to dry for the recommended time.
5. After the grout has dried, use a clean, dry cloth to buff away any haze or residue on the tiles.
6. Finally, apply a grout sealer according to the manufacturer’s instructions to protect the grout from stains and moisture.
With the grouting complete, your newly installed bathroom tiles are ready to shine. But before you start enjoying your updated space, there are a few more steps to ensure your tiles remain clean and well-maintained. Request a free estimate here.
Cleaning and maintaining your newly installed bathroom tiles
Proper cleaning and maintenance are essential for preserving the beauty and longevity of your newly installed bathroom tiles. Follow these tips to keep your tiles looking their best.
1. Regularly clean your tiles using a mild detergent and warm water. Avoid using abrasive cleaners or harsh chemicals that can damage the tiles or grout.
2. Use a soft sponge or cloth to gently scrub the tiles, paying attention to any grout lines or stains.
3. Dry the tiles thoroughly after cleaning to prevent water spots or mold growth.
4. Avoid dragging heavy objects across the tiles, as this can cause scratches or chips.
5. Place mats or rugs in high-traffic areas to protect the tiles from excessive wear and tear.
6. Periodically check the grout for any signs of damage or deterioration. If necessary, repair or replace the grout to maintain the integrity of the installation.
By following these cleaning and maintenance practices, your bathroom tiles will continue to look beautiful and withstand the test of time; bathroom tile installation.
Conclusion – Enjoy your new bathroom with professionally installed tiles!
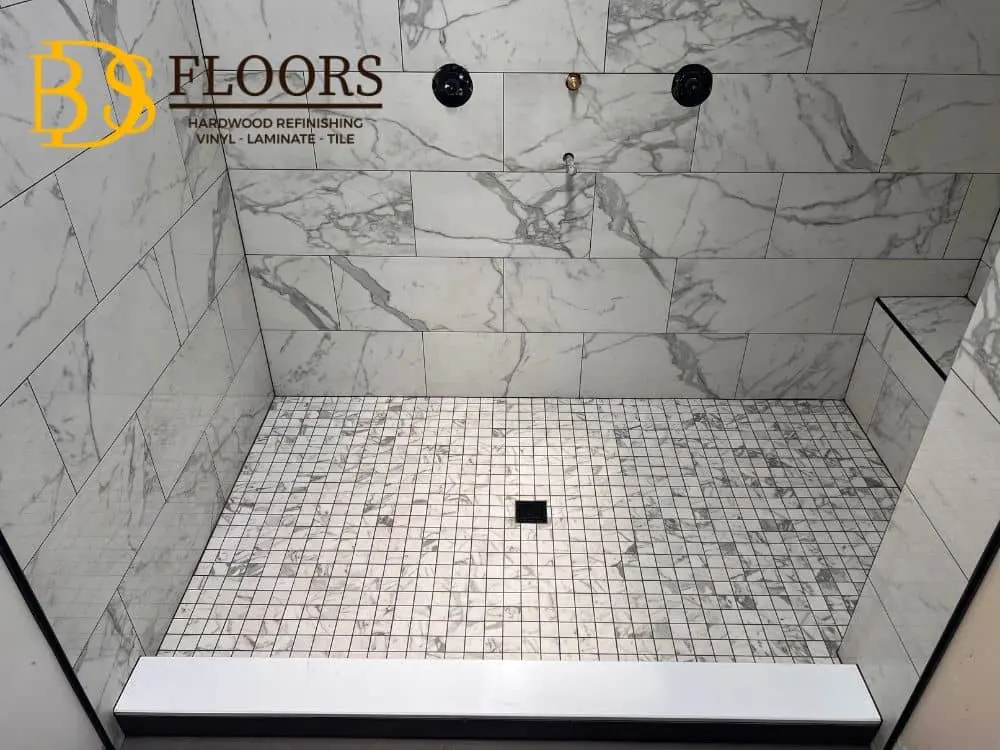
Congratulations! You’ve successfully completed the comprehensive tutorial on bathroom tile installation. By following the step-by-step instructions and helpful tips provided in this article, you’ve transformed your bathroom into a stunning and functional space.
From preparing the bathroom and choosing the right tiles to installing and grouting them, you’ve mastered the art of bathroom tile installation. Remember to maintain and clean your tiles regularly to ensure their longevity and beauty.
Whether you’re a DIY enthusiast or a homeowner seeking to update your bathroom, this tutorial has equipped you with the knowledge and skills to achieve professional results. Now, sit back, relax, and enjoy your new bathroom with beautifully installed tiles!

