Secrets to Flawless Installation of Hardwood Flooring Options Revealed
Are you planning to install hardwood flooring in your home and want to ensure it’s done flawlessly? Look no further! In this article, we will reveal the secrets to achieving a flawless hardwood flooring installation. Whether you’re a seasoned DIY enthusiast or hiring a professional, these tips and tricks will guarantee outstanding results.Request a free estimate here.
From preparing the subfloor to the finishing touches, we will walk you through each stage of the process, providing expert advice along the way. Learn how to choose the right type of hardwood for your space, how to acclimate the wood properly, and how to lay the boards for optimal stability and aesthetics. We’ll also share insider tips on how to avoid common mistakes that can lead to warped or squeaky floors: hardwood flooring options.
With decades of experience in the flooring industry, we understand the importance of a quality installation. So join us as we unlock the secrets to flawless hardwood flooring and transform your space into a stunning showcase of timeless beauty. Request a free estimate here.
Choosing the right hardwood flooring
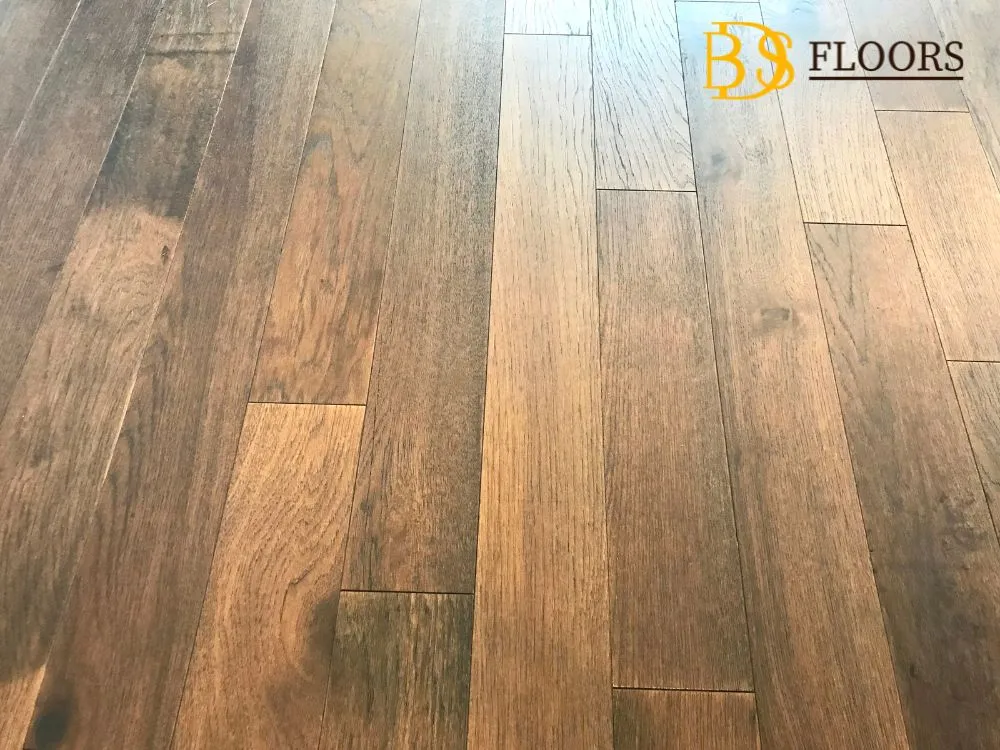
When it comes to hardwood flooring, choosing the right type of wood is crucial for a flawless installation. Consider factors such as the room’s usage, the amount of foot traffic, and your personal style preferences. Oak and maple are popular choices due to their durability and timeless appeal. Exotic woods like Brazilian cherry and teak offer a unique aesthetic but may come with a higher price tag. Don’t forget to take into account the hardness and grain patterns of the wood to ensure it suits your needs; hardwood flooring options.
Once you’ve chosen your hardwood flooring, make sure to order a little extra to account for any cuts or mistakes that might happen during the installation process. It’s always better to have more than not enough.
Preparing the subfloor for installation
Before you can start laying down your hardwood flooring, it’s essential to prepare the subfloor properly. Begin by removing any existing flooring material, such as carpet or tile, and ensure that the subfloor is clean and free of debris. Check for any unevenness, dips, or cracks and repair them as necessary. A level subfloor is crucial for a smooth and stable installation. If you’re unsure about the condition of your subfloor, consult a professional to avoid any potential issues down the line; hardwood flooring options.
Acclimating the hardwood flooring
One of the secrets to a flawless hardwood flooring is allowing the wood to acclimate to the environment in which it will be installed. This process involves letting the wood adjust to the temperature and humidity of the room to prevent warping or shrinking after installation. Place the hardwood planks in the room where they will be installed and leave them for at least 48 hours. This will ensure that the wood reaches its moisture equilibrium with the surrounding environment.
During the acclimation period, it’s crucial to keep the room’s temperature and humidity levels consistent with the conditions that will be present once the flooring is installed. Avoid exposing the wood to extreme temperature changes or moisture, as this can affect its stability; hardwood flooring options.
Tools and materials needed for installation
To achieve a flawless hardwood flooring installation, you’ll need the right tools and materials. Here’s a list of essential items you should have on hand:
1. Circular Saw or Miter Saw: These tools are used to cut the hardwood planks to size. A circular saw is ideal for long straight cuts, while a miter saw is great for angled or precision cuts.
2. Nail Gun or Stapler: Depending on the type of hardwood flooring you choose, you’ll need either a nail gun or stapler to secure the planks to the subfloor. Make sure to use the recommended fasteners for your specific flooring type.
3. Tape Measure and Chalk Line: Accurate measurements are crucial for a flawless installation. Use a tape measure to measure the dimensions of the room and a chalk line to mark guidelines for laying the planks.
4. Moisture Barrier: In areas with high moisture levels, it’s essential to install a moisture barrier between the subfloor and the hardwood flooring. This helps prevent moisture-related issues such as warping or buckling.
5. Flooring Adhesive: If you’re installing engineered hardwood flooring or opting for a glue-down installation method, you’ll need flooring adhesive to secure the planks to the subfloor; hardwood flooring options.
6. Underlayment: Some hardwood flooring types require an underlayment for added cushioning and noise reduction. Check the manufacturer’s recommendations to determine if an underlayment is necessary for your specific flooring; hardwood flooring options.
Installing the hardwood flooring
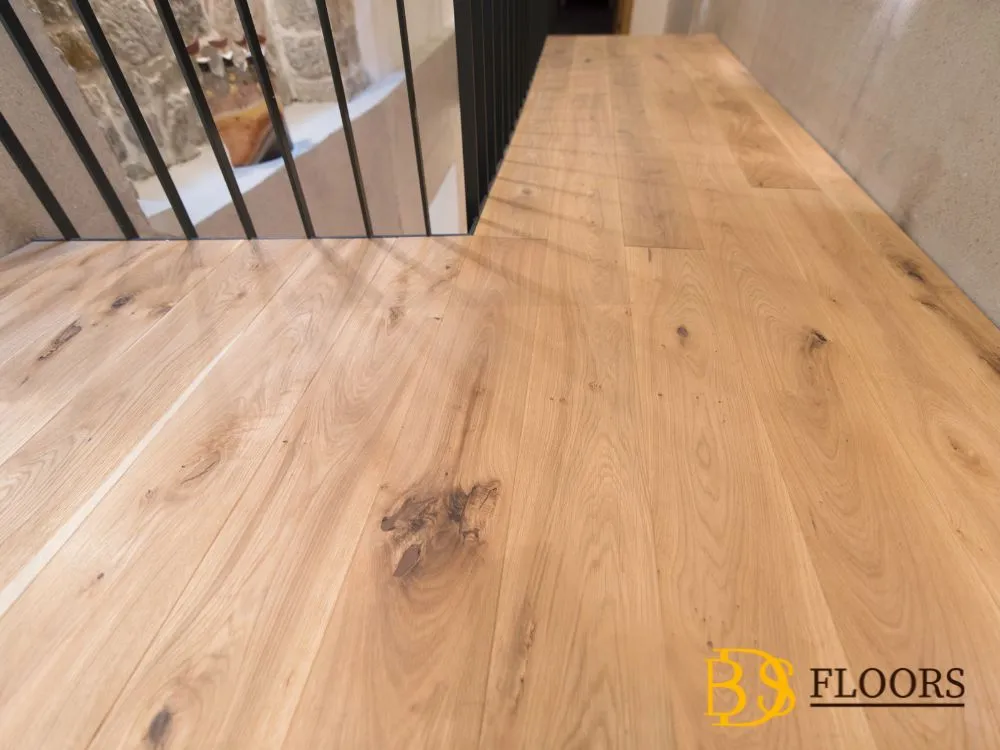
Now that you have all the necessary tools and materials, it’s time to install your hardwood flooring. Follow these steps for a flawless installation:
1. Prepare the First Row: Start by measuring and cutting the first row of planks to fit along the wall. Remember to leave a small gap between the plank and the wall to allow for expansion.
2. Install the First Row: Apply adhesive or use a nail gun/stapler to secure the first row of planks to the subfloor. Make sure they are straight and aligned with the guidelines you marked earlier; hardwood flooring options.
3. Continue with Subsequent Rows: Install the remaining rows of planks, ensuring that each one is properly aligned and snugly connected to the previous row. Use a tapping block and rubber mallet to fit the planks together tightly.
4. Cutting and Fitting: As you approach the end of each row, you may need to cut the planks to fit the remaining space. Measure and cut the planks carefully to ensure a seamless fit.
5. Staggering the Planks: To create a visually appealing pattern and enhance the stability of the flooring, stagger the end joints of the planks. Avoid aligning the end joints in adjacent rows for a more natural look.
6. Finishing Touches: Sanding and Staining
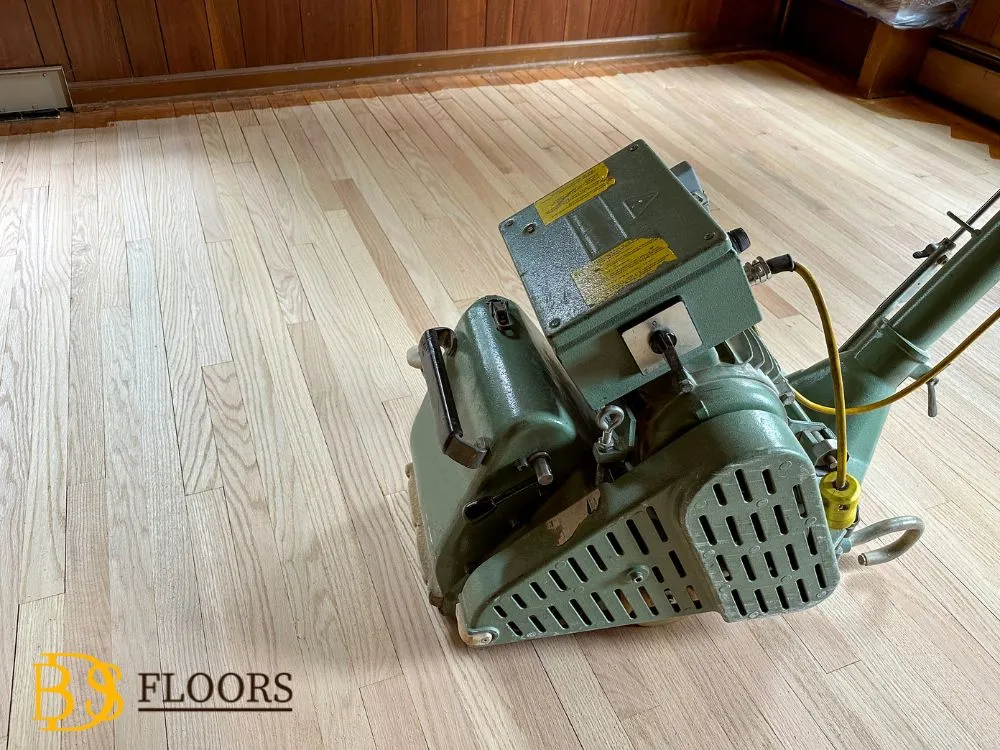
Once the hardwood flooring is installed, it’s time to add the finishing touches to achieve a flawless look. Sanding the floor helps smooth out any rough edges or imperfections, creating a uniform and polished surface. Start with a coarse-grit sandpaper and gradually move to finer grits for a smooth finish; hardwood flooring options.
After sanding, you can choose to apply a stain or finish to enhance the natural beauty of the wood and protect it from wear and tear. Select a stain color that complements your space and follow the manufacturer’s instructions for application. Always work in small sections and wipe off any excess stain to ensure an even finish.Request a free estimate here.
Finishing touches: sanding and staining
Once the hardwood flooring is installed, it’s time to give it a smooth and polished finish. Start by sanding the entire surface to remove any imperfections and create a uniform look. Begin with a coarse-grit sandpaper and gradually work your way up to a finer grit for a smooth and flawless finish. Make sure to sand in the direction of the wood grain to avoid scratches; hardwood flooring options.
After sanding, it’s time to choose the perfect stain for your hardwood flooring. Pick a color that complements your space and enhances the natural beauty of the wood. Test the stain on a small, inconspicuous area before applying it to the entire floor to ensure you achieve the desired result. Apply the stain evenly with a brush or rag, following the manufacturer’s instructions. Allow the stain to dry completely before applying a protective finish; hardwood flooring options.
Proper care and maintenance of hardwood flooring
To keep your hardwood flooring looking flawless for years to come, it’s important to follow proper care and maintenance practices. Regularly sweep or vacuum the floor to remove any dirt and debris that can scratch the surface. Use a damp mop with a mild hardwood floor cleaner to clean up spills and stains. Avoid using excessive water or harsh cleaning products, as they can damage the wood; hardwood flooring options.
In high-traffic areas, consider using rugs or mats to protect the flooring from wear and tear. Use furniture pads on the legs of chairs and tables to prevent scratches. Additionally, avoid walking on the floor with high heels or shoes with spikes, as they can leave dents and marks; hardwood flooring options.
Common mistakes to avoid during installation
Even with the best intentions, mistakes can happen during a hardwood flooring installation. To ensure a flawless result, be aware of common pitfalls and avoid the following mistakes:
1. Skipping the acclimation process: As mentioned earlier, acclimating the wood is essential for preventing future problems. Don’t rush the installation process and give the wood enough time to adjust to its new environment.
2. Not preparing the subfloor properly: A level and clean subfloor are crucial for stability and longevity. Take the time to repair any damage and ensure the subfloor is free from debris and moisture.
3. Failing to leave expansion gaps: Wood needs room to expand and contract. Always leave a small gap around the perimeter of the room to accommodate these natural movements.
4. Using the wrong tools or techniques: Invest in high-quality tools and follow the manufacturer’s instructions for installation. Using the wrong tools or techniques can result in uneven or damaged boards; hardwood flooring options.
5. Neglecting proper maintenance: Once the hardwood flooring is installed, proper care and maintenance are essential. Neglecting regular cleaning and maintenance practices can lead to a dull and damaged floor.
Conclusion: Enjoy your flawless hardwood flooring
A flawless hardwood flooring can transform your space into a stunning showcase of timeless beauty. By following the secrets and tips revealed in this article, you can ensure outstanding results whether you’re a seasoned DIY enthusiast or hiring a professional. From choosing the right type of hardwood to acclimating the wood properly and avoiding common mistakes, each step of the process is essential for achieving a flawless installation; hardwood flooring options.

