Mastering the Art of Marble Tile Installation: Expert Advice for a Showstopping Flooring
Are you ready to transform your space with a showstopping flooring option? Look no further than marble tile installation. With its timeless elegance and durability, marble has long been a favorite choice for creating stunning floors. But mastering the art of marble tile installation requires expertise and careful attention to detail. Request free estimate here.
In this article, we’ll provide you with expert advice on how to achieve a flawless marble tile installation. Whether you’re a DIY enthusiast or a professional contractor, our tips and techniques will help you achieve professional-grade results.
From preparing the subfloor to selecting the right adhesive and grout, we’ll guide you through each step of the process. We’ll also address common challenges such as preventing cracks, ensuring proper alignment, and maintaining the beauty of your marble tiles over time.
Don’t let the intricacies of marble tile installation intimidate you. With our expert advice, you’ll be able to create a showstopping flooring that will impress for years to come. So, let’s dive in and unlock the secrets to mastering the art of marble tile installation.
Advantages and disadvantages of marble tile flooring
Marble tile flooring offers a range of advantages that make it a popular choice for homeowners and designers alike. Its natural beauty and unique veining patterns add a touch of luxury to any space. Additionally, marble is highly durable and can withstand heavy foot traffic, making it suitable for both residential and commercial applications. However, it’s important to consider the disadvantages of marble tile flooring as well. Marble is a porous material that can stain easily if not properly sealed and maintained. It is also susceptible to scratching and etching from acidic substances. Understanding the pros and cons of marble tile flooring will help you make an informed decision for your project.
Types of marble tiles available in the market
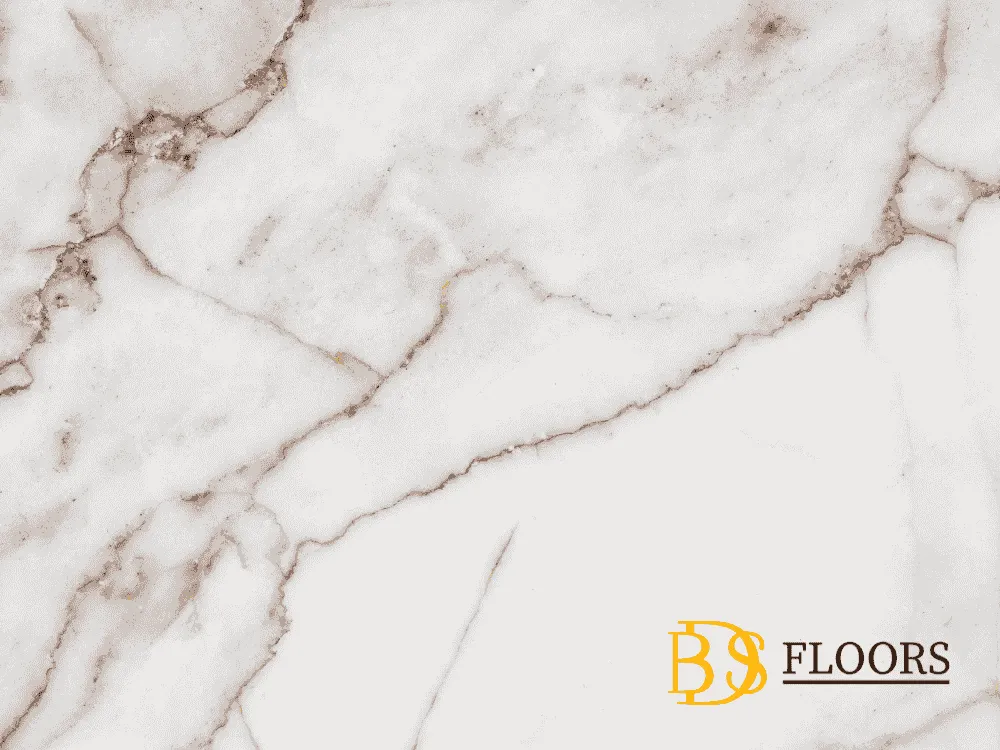
When it comes to marble tiles, there is a wide variety of options to choose from. Each type of marble has its own unique characteristics and appearance, allowing you to find the perfect fit for your design vision. Some popular types of marble tiles include Carrara, Calacatta, Emperador, and Crema Marfil. Carrara marble, known for its white background and grey veining, is a classic choice that adds elegance to any space. Calacatta marble, on the other hand, features a whiter background with bolder and more dramatic veining. Emperador marble comes in different shades of brown, while Crema Marfil offers a warm and creamy tone. Understanding the different types of marble tiles will help you select the one that best suits your aesthetic preferences.
Tools and materials needed for marble tile installation
Before getting started with your marble tile installation, it’s important to gather all the necessary tools and materials. Some essential tools include a wet saw, tile cutter, notched trowel, grout float, and a rubber mallet. You will also need materials such as marble tiles, adhesive, grout, tile spacers, and a sealer. It’s crucial to invest in high-quality tools and materials to ensure a successful installation. Using the right tools will make the process easier and help you achieve professional results.
Preparing the subfloor for marble tile installation
Proper subfloor preparation is crucial for a successful marble tile installation. The subfloor should be clean, level, and free of any debris or imperfections. Start by removing any existing flooring and inspecting the subfloor for stability. If there are any cracks or uneven areas, they should be repaired before proceeding. Next, ensure that the subfloor is properly sealed to prevent moisture from seeping through. Applying a waterproof membrane is recommended, especially in areas prone to moisture, such as bathrooms and kitchens. Taking the time to prepare the subfloor will create a solid foundation for your marble tile installation. Request free estimate here.
Step-by-step guide to installing marble tiles
Now that you have prepared the subfloor, it’s time to start installing your marble tiles. Follow these step-by-step instructions for a successful installation:
1. Start by dry laying your marble tiles to determine the best layout. This will help you visualize the final result and make any necessary adjustments.
2. Mix the adhesive according to the manufacturer’s instructions. Apply the adhesive to the subfloor using a notched trowel, creating grooves for better adhesion.
3. Place the marble tiles firmly into the adhesive, using a rubber mallet to ensure they are level and properly adhered to the subfloor.
4. Use tile spacers to maintain consistent spacing between the tiles. This will help create even grout lines.
5. Allow the adhesive to dry completely before proceeding to the next step.
6. Mix the grout according to the manufacturer’s instructions. Apply the grout to the spaces between the tiles using a grout float, making sure to fill the joints completely.
7. Remove any excess grout with a damp sponge, being careful not to disturb the grout lines.
8. After the grout has cured, apply a sealer to protect the marble tiles from stains and moisture.
Tips for achieving a professional finish
To achieve a professional finish with your marble tile installation, consider the following tips:
1. Take your time during the installation process. Rushing can lead to mistakes and uneven tiles.
2. Use tile spacers to ensure consistent spacing between the tiles. This will create a neat and polished look.
3. Clean the tiles regularly to prevent dirt and grime buildup. Avoid using harsh chemicals that can damage the marble.
4. Apply a high-quality sealer to protect the marble tiles from stains and moisture. Reapply the sealer as recommended by the manufacturer.
5. Avoid dragging heavy objects across the marble floor, as this can cause scratches and damage.
6. Place protective pads or felt under furniture legs to prevent scratching the marble tiles.
Maintenance and care for marble tile flooring
Proper maintenance and care are essential to keep your marble tile flooring looking its best. Regular cleaning is important to remove dirt and prevent stains. Use a soft mop or a microfiber cloth to avoid scratching the tiles. Avoid using acidic or abrasive cleaners that can damage the marble. Instead, use a pH-neutral cleaner specifically designed for marble. It’s also recommended to seal the marble tiles periodically to maintain their beauty and protect them from stains and moisture. Following a regular maintenance routine will ensure that your marble tile flooring remains stunning for years to come.
Common mistakes to avoid during marble tile installation
Marble tile installation can be a complex process, and there are some common mistakes that you should avoid:
1. Failing to properly prepare the subfloor can lead to uneven tiles and cracked grout.
2. Using the wrong adhesive or grout can result in poor adhesion and discoloration.
3. Neglecting to seal the marble tiles can lead to staining and damage.
4. Not using tile spacers can result in uneven grout lines and an unprofessional finish.
5. Rushing the installation process can lead to mistakes and a subpar result.
By being aware of these common mistakes, you can ensure a successful marble tile installation.
Conclusion: Creating a stunning and durable marble tile flooring
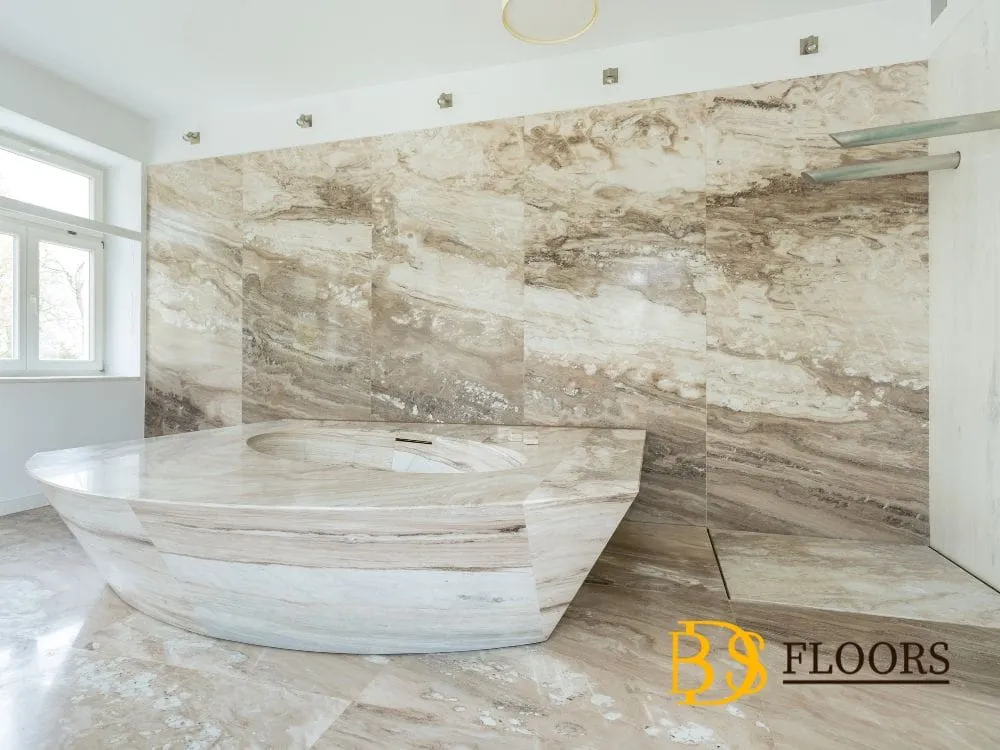
Mastering the art of marble tile installation requires expertise and attention to detail. By following the expert advice provided in this article, you’ll be able to achieve a flawless marble tile installation that will impress for years to come. From understanding the advantages and disadvantages of marble tile flooring to selecting the right tools and materials, each step of the process is crucial for a professional finish. Remember to take your time, follow the recommended techniques, and properly maintain your marble tile flooring to enjoy its timeless beauty and durability. With our guidance, you’ll be well on your way to creating a stunning and durable marble tile flooring that will elevate the aesthetic appeal of any space. So, get ready to transform your floors and make a lasting impression with the elegance of marble. Request free estimate here.

