
Introdução
Vinyl Flooring Installation jacksonville: In the heart of Jacksonville, home improvement is more than just a project; it’s a journey towards creating a space that reflects personal style and modern living. Vinyl flooring stands out as an innovative solution, combining aesthetic elegance with unmatched durability and ease of maintenance. This comprehensive guide is tailored to homeowners in Jacksonville, providing a step-by-step approach to vinyl flooring installation. From the initial selection of materials to the final touches of installation, we delve into everything you need to know to transform your home with vinyl flooring. Vinyl Flooring Installation jacksonville
The Evolution of Vinyl Flooring in Home Design
- Brief History: Explore the origins of vinyl flooring and its evolution into a popular flooring choice.
- Modern Advancements: Discuss the technological improvements in vinyl flooring, such as luxury vinyl tiles and planks. Vinyl Flooring Installation jacksonville
- Jacksonville Trends: Highlight how vinyl flooring trends have shaped home renovation projects in Jacksonville. Vinyl Flooring Installation jacksonville
Step-by-Step Guide for Vinyl Flooring Installation
- Step 1: Choosing the Right Vinyl Flooring
- Assess Your Needs: Consider the level of foot traffic, exposure to moisture, and overall aesthetics of the space.
- Types of Vinyl Flooring: Explore options like luxury vinyl tiles (LVT), luxury vinyl planks (LVP), and sheet vinyl. LVT and LVP are excellent for high-traffic areas due to their durability and ease of replacement, while sheet vinyl is ideal for areas prone to moisture.
- Design and Style: Match the flooring with your home decor. Vinyl flooring comes in various patterns and colors that can mimic the look of natural stone, wood, or ceramic.
- Quality and Warranty: Choose a quality product with a good warranty to ensure long-term satisfaction.
- Step 2: Tools and Materials Needed
- Basic Tools: Measuring tape, utility knife, straightedge, and a fine-tooth saw.
- Installation Materials: Vinyl flooring, adhesive (if not using self-adhesive vinyl), and underlayment (if required).
- Safety Gear: Safety glasses and gloves.
- Additional Supplies: Spacers, a tapping block, and a rubber mallet for plank vinyl flooring.
- Step 3: Preparing the Subfloor
- Cleaning: Ensure the subfloor is clean, dry, and free of debris.
- Leveling: Check for and correct any uneven areas. Use a leveling compound if necessary.
- Moisture Testing: Especially important for concrete subfloors to prevent mold and mildew issues.
- Step 4: Measuring and Cutting
- Room Measurement: Measure the room accurately to determine how much vinyl flooring is needed.
- Cutting Vinyl: Use a straightedge and a utility knife for precision cuts. For complex cuts, create a template out of cardboard.
- Planning Layout: Consider the direction of planks or tiles for aesthetic appeal.
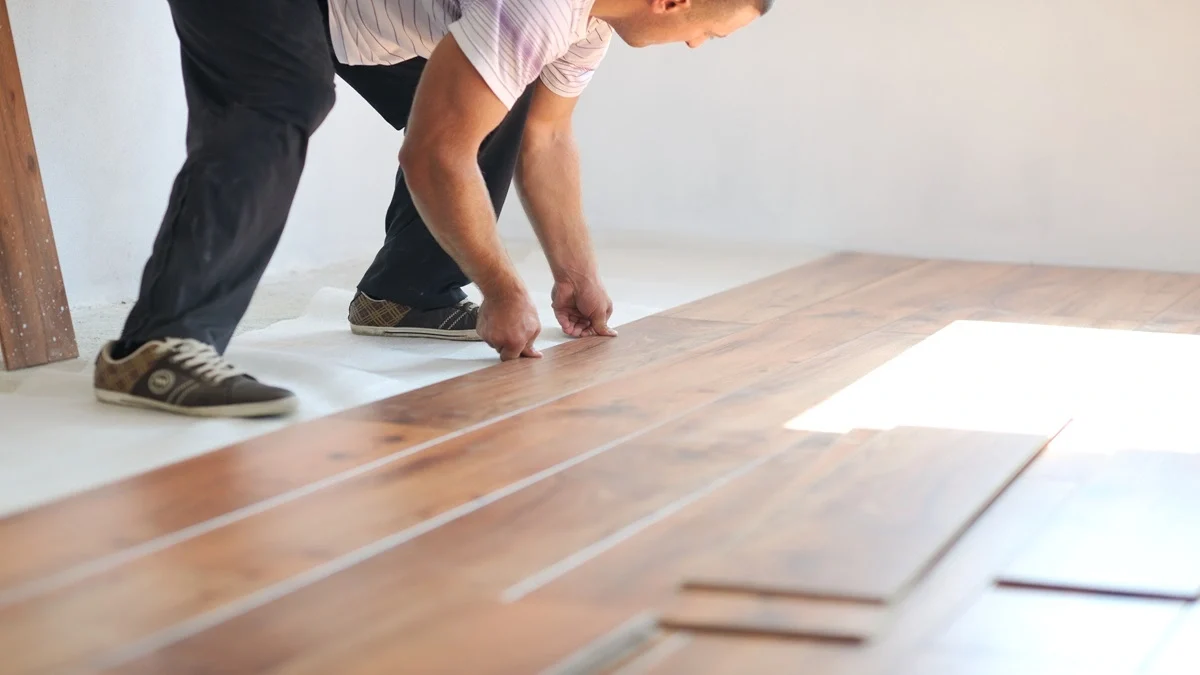
- Step 5: Laying the Vinyl
- Dry Fitting: Lay out the vinyl without adhesive first to check the fit.
- Adhesive Application: If using glue-down vinyl, apply adhesive evenly.
- Alignment: Carefully place the vinyl on the floor, ensuring alignment and avoiding air bubbles.
- Securing Planks or Tiles: For LVT/LVP, lock the planks or tiles together as per manufacturer instructions.
- Step 6: Sealing and Finishing
- Sealing Joints: If required, seal the joints between vinyl tiles or planks to prevent moisture ingress.
- Trim and Transitions: Install baseboards, trim, and transition strips to cover the edges of the flooring and between different flooring types.
- Final Clean: Wipe away any adhesive residue and clean the surface of the new flooring.
- Step 7: Maintenance and Care
- Regular Cleaning: Sweep, vacuum, or use a damp mop for cleaning. Avoid harsh chemicals.
- Prevent Scratches and Damage: Use felt pads under furniture legs and avoid dragging heavy objects across the floor.
- Immediate Spill Clean-up: Clean spills immediately to prevent staining or damage.
- By following these detailed steps, you can ensure a successful and lasting installation of vinyl flooring in your Jacksonville home. Remember, the key to a successful installation lies in careful planning, precise execution, and regular maintenance. Vinyl Flooring Installation jacksonville
Common Questions and Answers: Vinyl Flooring Installation jacksonville
- Durability and Lifespan: Address concerns about the durability and lifespan of vinyl flooring.
- Cost and Budgeting: Discuss cost factors and budgeting tips for Vinyl Flooring Installation jacksonville.
- DIY vs. Professional Installation: Explore the pros and cons of DIY installation versus hiring professionals.
- Style and Design Choices: Advice on matching vinyl flooring with your home’s style and décor.Vinyl Flooring Installation jacksonville
Conclusão
To wrap up, vinyl flooring installation is a transformative journey that can redefine the ambiance and functionality of your Jacksonville home. This guide aims to equip you with the knowledge and confidence to embark on this project, whether as a DIY endeavor or with professional assistance. We hope this step-by-step guide has illuminated the path to a successful vinyl flooring installation. Your home in Jacksonville deserves a flooring solution that combines beauty with practicality, and vinyl flooring is a choice that delivers on both fronts. We’d love to hear your thoughts and experiences regarding vinyl flooring installation. Share your insights, questions, or suggestions in the comments to help others in their home transformation journey.Vinyl Flooring Installation jacksonville