Vinyl Flooring Installation: A Complete Guide

If you’re looking for a durable, low-maintenance flooring option, vinyl flooring might be the right choice for you. Vinyl flooring is a popular option due to its versatility, affordability, and ease of installation. In this article, we will provide a comprehensive guide on vinyl flooring installation, including preparation, installation methods, and maintenance.
Preparation
Before starting the installation process, it’s essential to prepare the surface where you plan to install the vinyl flooring. Here are the steps you need to take:
Step 1: Clean and Level the Surface
Make sure the surface is clean and free of any debris, dust, or dirt. If there are any irregularities, use a leveling compound to even out the surface.
Step 2: Measure the Room
Measure the room’s length and width to determine how much vinyl flooring you’ll need. Add 10% to account for any waste or mistakes during installation.
Step 3: Acclimate the Flooring
Store the vinyl flooring in the room where you plan to install it for at least 24-48 hours to allow it to adjust to the room’s temperature and humidity.
Installation Methods
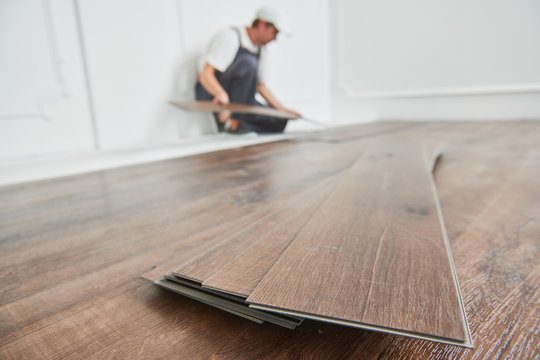
There are two primary methods for installing vinyl flooring: the glue-down method and the floating method.
Glue-Down Method
The glue-down method involves using an adhesive to secure the vinyl flooring to the subfloor. Here are the steps to follow:
- Spread the adhesive evenly on the subfloor using a notched trowel.
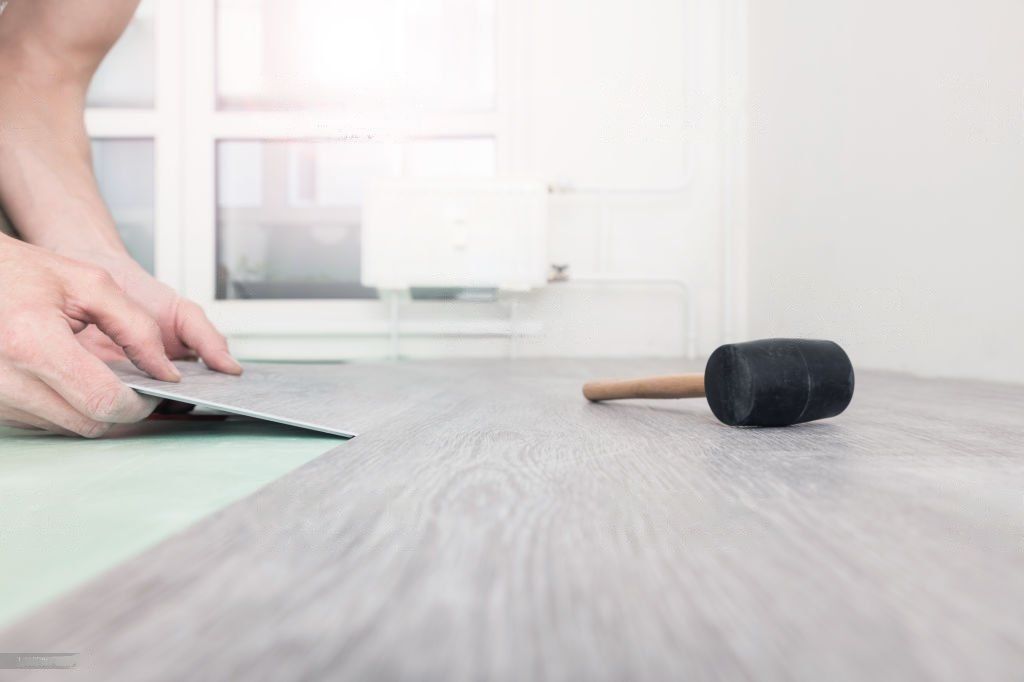
- Place the vinyl flooring onto the adhesive and press it firmly into place.
- Use a floor roller to ensure the vinyl flooring is completely adhered to the subfloor.
- Trim any excess vinyl flooring along the edges of the room.

Floating Method
The floating method involves installing the vinyl flooring over a padded underlayment without the use of adhesive. Here are the steps to follow:
- Lay the padded underlayment over the subfloor.
- Place the vinyl flooring over the underlayment.
- Snap the planks or tiles together using a tongue and groove system.
- Trim any excess vinyl flooring along the edges of the room.
Maintenance
Proper maintenance of your vinyl flooring can help extend its lifespan and keep it looking its best. Here are some tips to keep in mind:
- Sweep or vacuum regularly to remove any dirt or debris.
- Clean up spills immediately to prevent stains.
- Use a damp mop to clean the vinyl flooring with a mild cleaning solution.
- Avoid using harsh chemicals or abrasive cleaners that can damage the vinyl flooring.
Conclusion
Vinyl flooring installation can be an easy and cost-effective way to update the look of your home. By following the proper preparation and installation methods, you can enjoy a durable and low-maintenance flooring option for years to come.
FAQs
- Do I need to remove the baseboards before installing vinyl flooring? No, you don’t need to remove the baseboards before installing vinyl flooring. You can install the vinyl flooring up to the baseboard and then add a quarter-round molding to cover the gap.
- Can I install vinyl flooring over existing tile flooring? Yes, you can install vinyl flooring over existing tile flooring as long as the surface is clean, level, and free of any debris.
- Do I need to hire a professional to install vinyl flooring? No, you can install vinyl flooring yourself with a few basic tools and some DIY experience. However, if you’re not comfortable with DIY projects, it’s best to hire a professional installer.
- Is vinyl flooring suitable for high-traffic areas?


