Family Business
Previous
Next
Flooring sale and Installation
BDS Floors
READY TO GET STARTED?
Schedule Your FREE In-Home Estimate
ExcellentBased on 74 reviews
 Daniel RiveraAugust 20, 2023I'm immensely grateful to BDS Floors for the hardwood glued down installation they completed in my home. Luis and Bruno's expertise and professionalism were outstanding. The transformation they achieved is astonishing, and my floors have a timeless beauty that I admire every day. BDS Floors' dedication to perfection is truly commendable.
 Ximena RiveraAugust 19, 2023Luis and Bruno from BDS Floors turned my flooring dreams into reality with their hardwood glued down installation. Their meticulous approach and unwavering commitment to quality were evident throughout the process. The results are simply breathtaking, and my home now feels elevated with the elegance of the new floors. BDS Floors' craftsmanship is top-notch.
 Andrew MartinezAugust 19, 2023I'm beyond pleased with the hardwood glued down installation by BDS Floors, orchestrated by Luis and Bruno. Their collaborative effort and skillful execution were truly remarkable. My floors now radiate a sense of sophistication that I didn't think was possible. BDS Floors' dedication to customer satisfaction is evident in every aspect of their work.
 Adalynn MartinezAugust 18, 2023Luis and Bruno from BDS Floors have my utmost appreciation for the exceptional hardwood glued down installation they completed in my house. The attention they gave to even the smallest details is impressive, resulting in floors that are both visually stunning and structurally sound. BDS Floors' commitment to excellence is truly commendable.
 Caleb FisherAugust 18, 2023I'm genuinely thankful to BDS Floors for the hardwood glued down installation that Luis and Bruno flawlessly executed in my home. Their dedication and expertise were evident in every step of the process. My floors have a newfound charm that reflects the high level of craftsmanship BDS Floors consistently delivers.
 Scarlett DunhamAugust 18, 2023Luis and Bruno from BDS Floors deserve a standing ovation for the hardwood glued down installation they carried out in my house. Their professionalism, combined with their passion for their work, made the experience truly remarkable. My floors now have a refined and elegant appearance that adds immense value to my home.
 Benjamin BarnesAugust 17, 2023I want to extend my heartfelt gratitude to BDS Floors, particularly Luis and Bruno, for the outstanding hardwood glued down installation they completed in my home. Their attention to detail and skillful execution resulted in flawless floors that I'm proud to show off. Choosing BDS Floors was a decision I'll never regret.
 Lyric BarnesAugust 17, 2023BDS Floors, led by Luis and Bruno, did a phenomenal job with the hardwood glued down installation in my house. Their professionalism and commitment to perfection were evident at every stage. The transformation they brought to my floors is remarkable, and I'm grateful for their hard work. BDS Floors' installation service is truly commendable.
 Ward HansomAugust 16, 2023I'm overjoyed with the results of the hardwood glued down installation that BDS Floors completed in my home. Luis and Bruno's expertise was evident in every aspect of their work. The final product is not only visually appealing but also speaks to the quality of their craftsmanship. BDS Floors has made me a loyal customer.
 Reagan ButlerAugust 16, 2023Luis and Bruno from BDS Floors truly impressed me with their hardwood glued down installation. Their teamwork and precision were evident throughout the process. My floors have undergone a complete transformation, and I'm grateful for the attention to detail that Luis and Bruno exhibited. BDS Floors exceeded my expectations.
Visit store or get free home estimate, in Jacksonville, FL
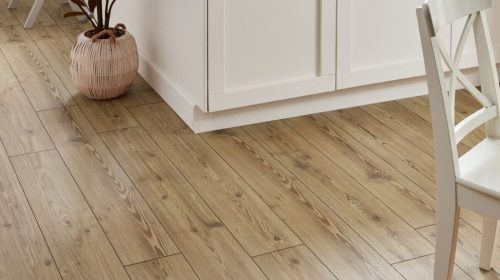
VINYL-LOOK
Luxury Vinyl, Sheet Vinyl, Commercial Vinyl Plank, Commercial Vinyl Tile, Vinyl Plank.
SHOP HUNDREDS OF QUALITY, Flooring installation, tile and hardwood refinishing, in Jacksonville, FL
FLOORING INSPIRATION MADE EASY
FLOORING FOR BUSINESS
Full-Service Commercial Flooring Solutions
Serving businesses of all sizes- corporations, healthcare facilities, small businesses, property mgmt groups

Make a Budget
We cover any price When You Sign Up for Our Emails
Military discount available
Details and coupon code will be emailed. New subscribers only.
*This coupon is only valid for projects starting at $ 2,700.


